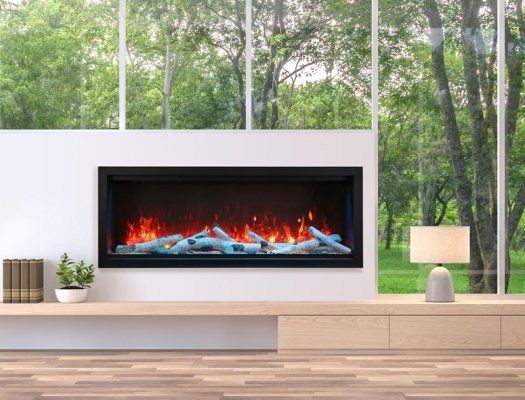
How to Install an Inset Stove?
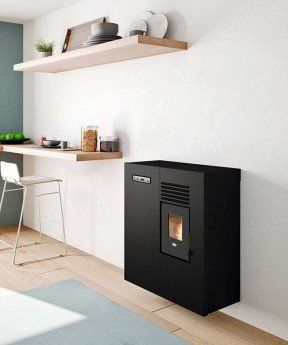
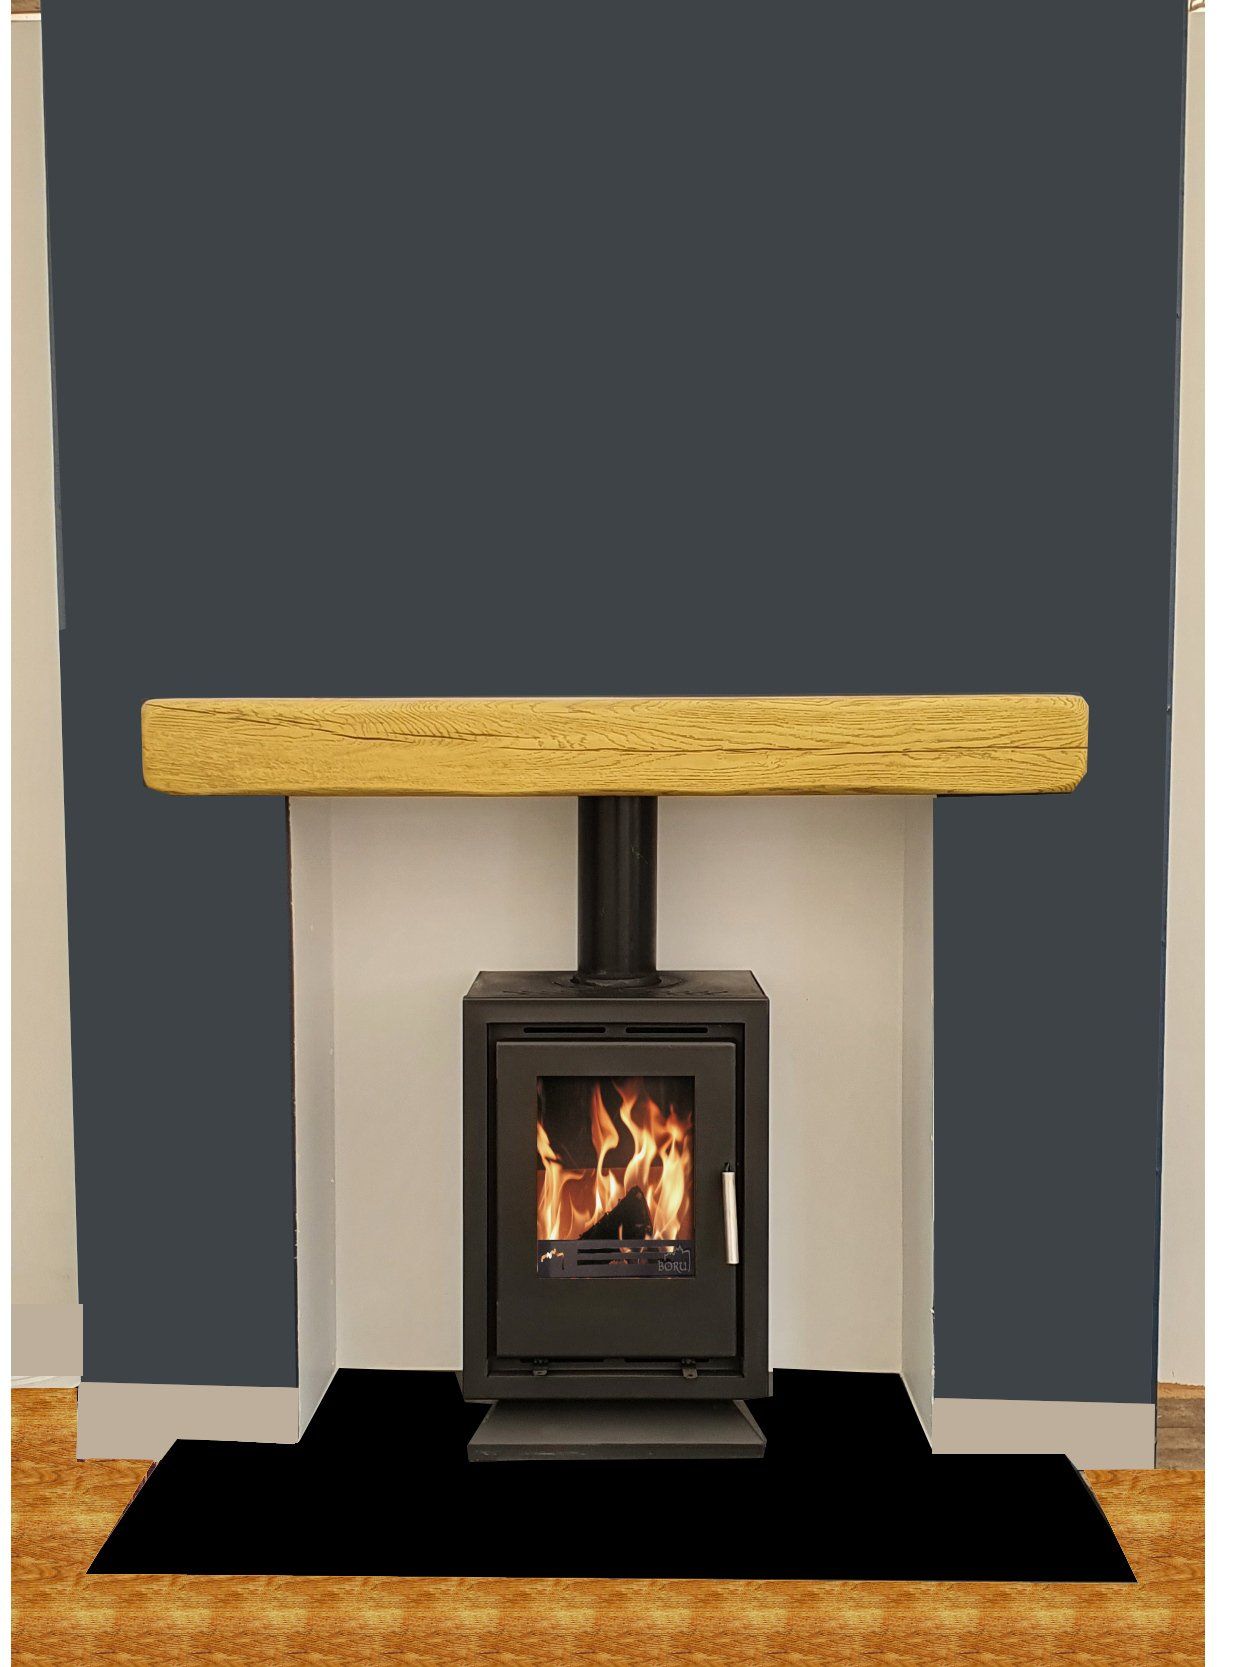
Inset stoves are a popular choice for homeowners looking to add both warmth and style to their living spaces. These sleek and efficient heating appliances fit snugly into existing fireplaces, offering a modern alternative to traditional open fires. However, the successful installation of an inset stove requires careful planning and execution to ensure safety and efficiency. In this comprehensive guide, we will walk you through the steps to properly install an inset stove, making it a manageable project for both experienced DIYers and those seeking professional guidance.
Pre-Installation Preparation
Before you dive into the installation process, it's crucial to be well-prepared. Here are the initial steps to get you started:
Gather Necessary Tools and Materials
To avoid delays during installation, gather all the tools and materials you'll need. Common items include a tape measure, level, screwdrivers, wrenches, masonry drill bits, anchors, and a reciprocating saw.
Measure the Installation Area
Precision is key when it comes to fitting an inset stove. Measure the fireplace opening accurately to ensure your stove will fit snugly without any gaps or obstructions.
Check Local Building Codes and Regulations
Different areas may have specific regulations regarding wood-burning appliances. Consult your local authorities or a professional to ensure your installation complies with safety and environmental standards.
Choose the Right Location
Selecting the ideal location for your inset stove is crucial for both aesthetic appeal and functionality. Consider factors like the stove's heat output, the layout of your room, and your desired viewing angle.
Safety First
Before you proceed with the installation, prioritize safety. Inset stoves involve handling fire and heat, so it's essential to take precautions:
Use Safety Gear and Precautions
Wear appropriate safety gear, including gloves and safety glasses, to protect yourself during the installation process. Make sure the installation area is well-ventilated, and keep a fire extinguisher nearby as a precaution.
Ensure Proper Ventilation and Clearances
Inset stoves require proper ventilation and clearance to combustible materials. Follow the manufacturer's recommendations and local building codes to determine the necessary clearances around the stove.
Installation Steps
Now let's delve into the installation process for your inset stove. Remember that safety and precision are of utmost importance at every stage.
Preparing the Fireplace Opening
Remove the Existing Fireplace Insert (If Applicable)
If your fireplace already has an insert, remove it carefully, following the manufacturer's instructions. This step may involve disconnecting gas lines or electrical components, so exercise caution.
Clean the Fireplace and Chimney
Thoroughly clean the fireplace and chimney, removing any debris, soot, or creosote buildup. A clean surface will ensure proper stove installation and help prevent chimney fires.
Installing the Hearth and Baseplate
Measure and Cut the Hearth and Baseplate
Measure the dimensions of your fireplace opening and cut the hearth and baseplate to fit snugly. These components will serve as the foundation for your inset stove.
Secure the Hearth and Baseplate in Place
Use appropriate anchors or adhesive to secure the hearth and baseplate in position. Ensure they are level and securely attached to the floor and walls.
Preparing the Flue and Chimney
Inspect and Clean the Chimney
Before connecting your inset stove, inspect the chimney for any structural damage or obstructions. Clean it thoroughly to remove creosote buildup and ensure proper draft.
Install a Chimney Liner (If Needed)
In some cases, you may need to install a chimney liner to improve the draft and ensure a safe connection between the stove and the chimney. Consult a professional if you are unsure about this step.
Installing the Inset Stove
Position the Stove in the Fireplace
Carefully slide the inset stove into the prepared fireplace opening, ensuring it aligns with the hearth and baseplate. Check for level and stability.
Connect the Stove to the Chimney and Flue
Follow the manufacturer's instructions to connect the stove's flue collar to the chimney liner or existing flue. Use the appropriate pipe sections and ensure a secure fit.
Seal Any Gaps or Openings
Use fire-resistant sealant or gaskets to seal any gaps between the stove and the fireplace opening. This step is crucial for preventing smoke leaks and ensuring efficient heating.
Testing and Safety Checks
Ensure Proper Draft and Ventilation
Before firing up the stove, check that there is adequate draft by opening a window slightly. This will help create a balanced airflow and prevent smoke from entering your home.
Test the Stove for Leaks and Functionality
Start a small fire in the stove and carefully observe it for any signs of smoke leaks or unusual behavior. Test the stove's controls and make sure it operates smoothly.
Post-Installation Maintenance
Once your inset stove is successfully installed and operational, it's essential to maintain it for long-term efficiency and safety. Here are some post-installation maintenance tips:
Regular Cleaning and Maintenance
Clean the stove's glass, interior, and flue regularly to prevent creosote buildup and maintain efficient combustion. Follow the manufacturer's guidelines for maintenance intervals.
Schedule Professional Inspections
Consider scheduling annual inspections by a professional chimney sweep or stove technician to ensure your inset stove is in optimal condition and complies with safety standards.
Tips for Efficient and Safe Operation
Follow best practices for operating your inset stove, such as using dry and seasoned wood, maintaining proper airflow, and using a quality stove thermometer to monitor temperatures.
Conclusion
Installing an inset stove can be a rewarding project that enhances the warmth and ambiance of your home. By following the steps outlined in this guide and prioritizing safety and precision, you can enjoy the benefits of efficient heating and a stylish fireplace. Remember to adhere to local regulations and seek professional assistance if you have any doubts or concerns during the installation process. With proper installation and maintenance, your inset stove will provide years of comfort and enjoyment.

